Blog
-
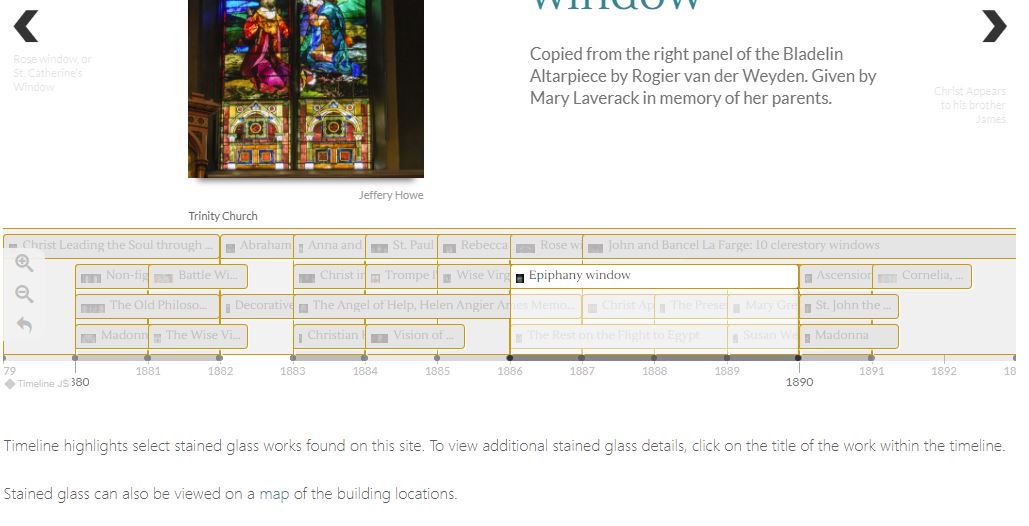
Creating a Timeline with TimelineJS and JSON
This tutorial was written by Sarah DeLorme, Associate Digital Scholarship Librarian. The John LaFarge stained glass digital guide is a great way for users to explore the varied works of LaFarge in one accessible site. The two interactive timelines featured there help to visualize the chronology of LaFarge’s life and his work. These timelines are…
-

Announcing BostonDH Week
The Digital Scholarship Group is excited to announce the inaugural Boston Digital Humanities Week, March 12–16, 2018. Come join colleagues from Northeastern University, Tufts University, Harvard, MIT, and Boston University for a week of free workshops, meetups, and lectures. To see the full list of events, visit is.gd/bostondhweek2018. At Boston College, we’ll be hosting workshops…
-

March 2018 O’Neill Library Displays
It’s not quite Spring yet in Boston, but March does bring some holidays! The March O’Neill displays celebrate St. Patrick’s Day and Easter. This month’s display items include: Materials from the John J. Burns Library’s Irish collection Photographs from the University Archives Objects from the John J. Burns Library’s Liturgy and Life collection Excerpts from…
-
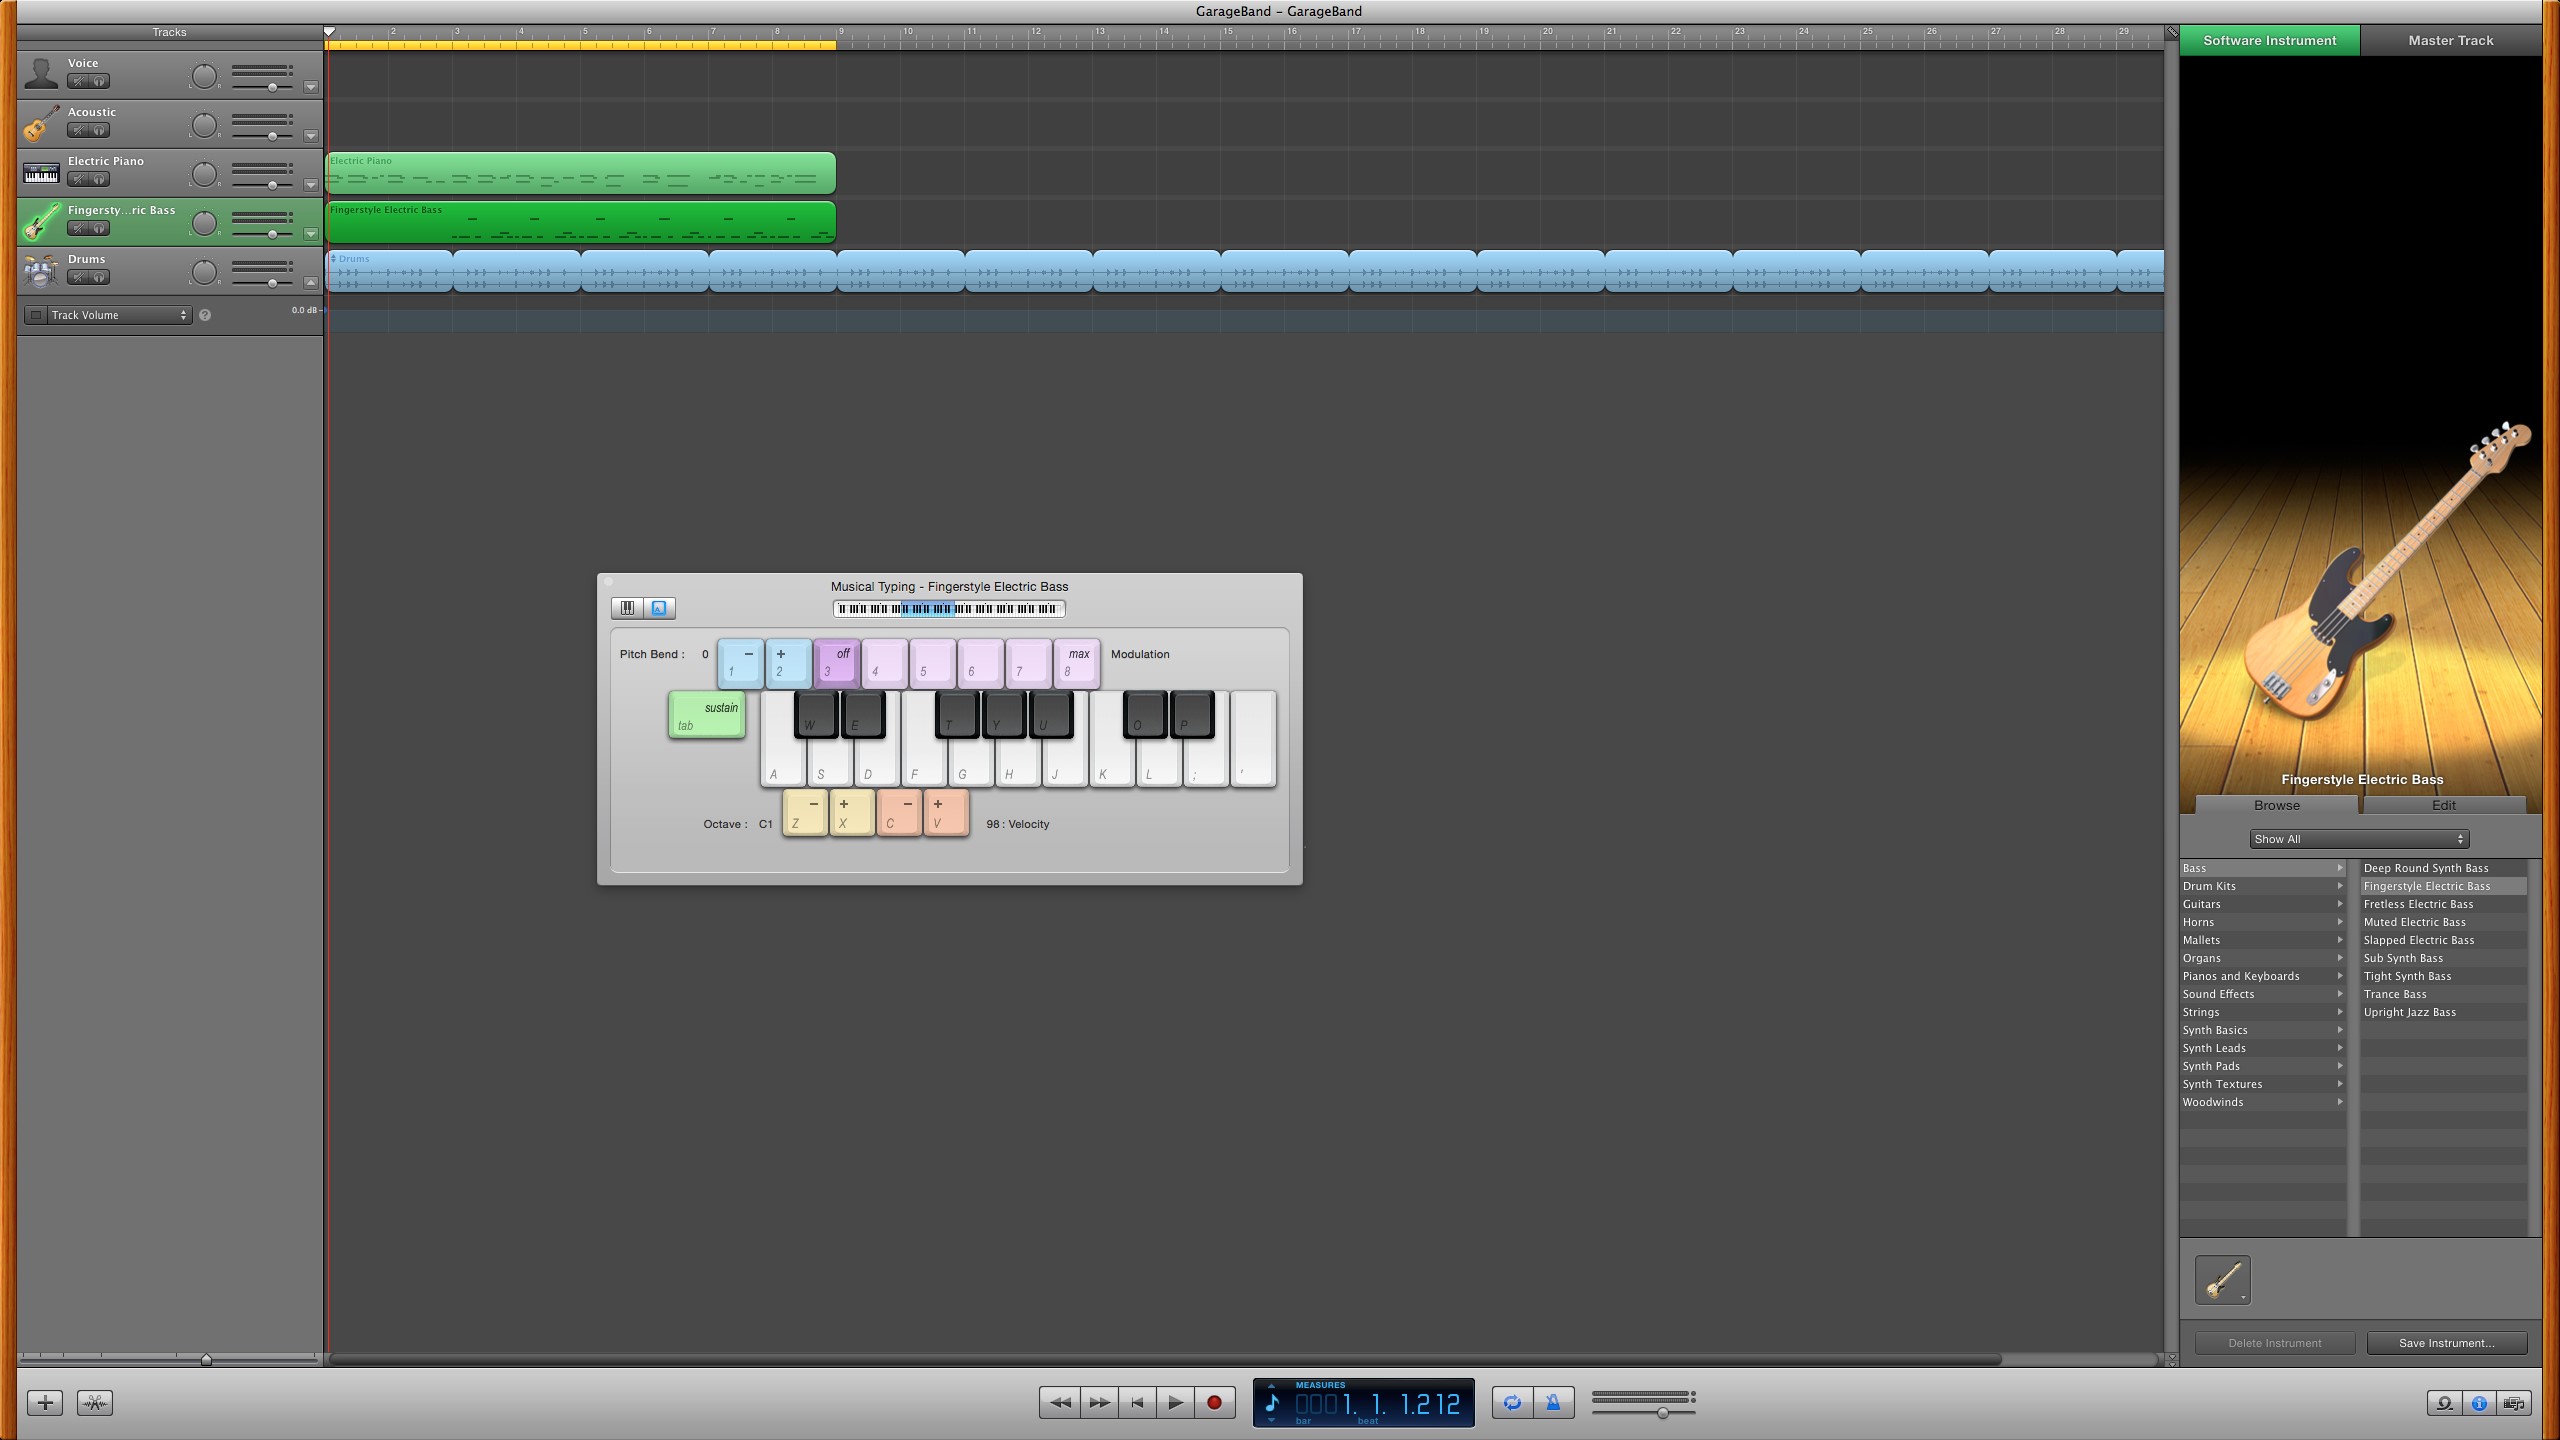
The Basics of Garageband
This tutorial was written by Digital Studio Student Assistant, Jung Kim. Learn more about Jung and our other student assistants here. Welcome to GarageBand tutorial! GarageBand is a macOS and iOS application that allows users to create music. It is a versatile program that suits your creative needs. All you have to do is to learn…
-
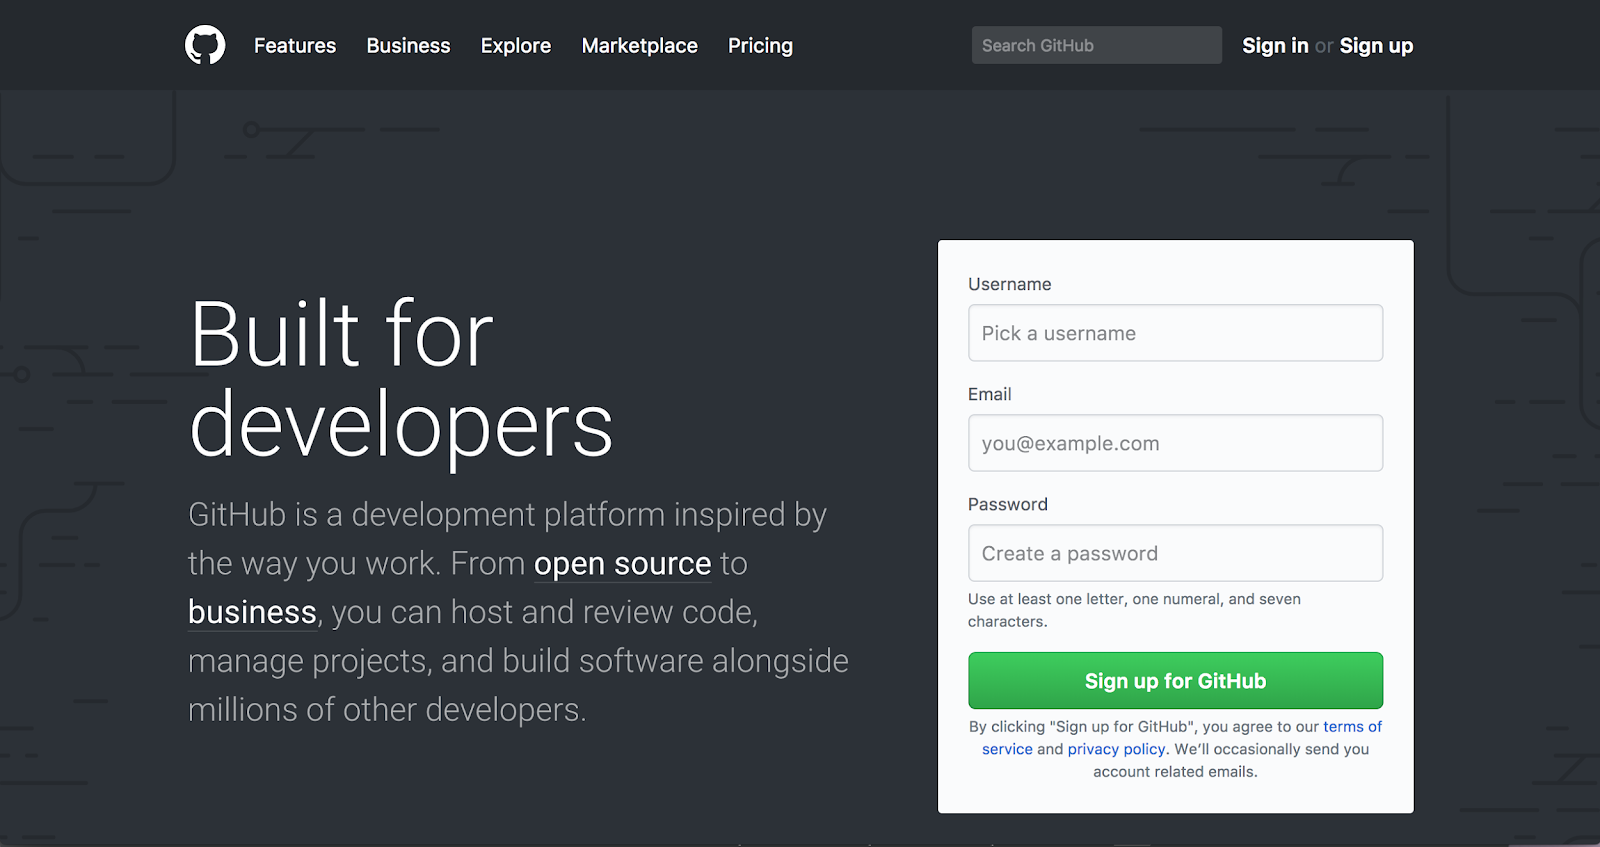
Hosting a site using Github
This tutorial was written by Digital Studio Student Assistant, Victor Truong. Learn more about Victor and our other student assistants here. In this tutorial, we will be learning how to host a website using GitHub Pages. GitHub Pages offers a free option of hosting your own personal website. This website can be used and customized to…
-
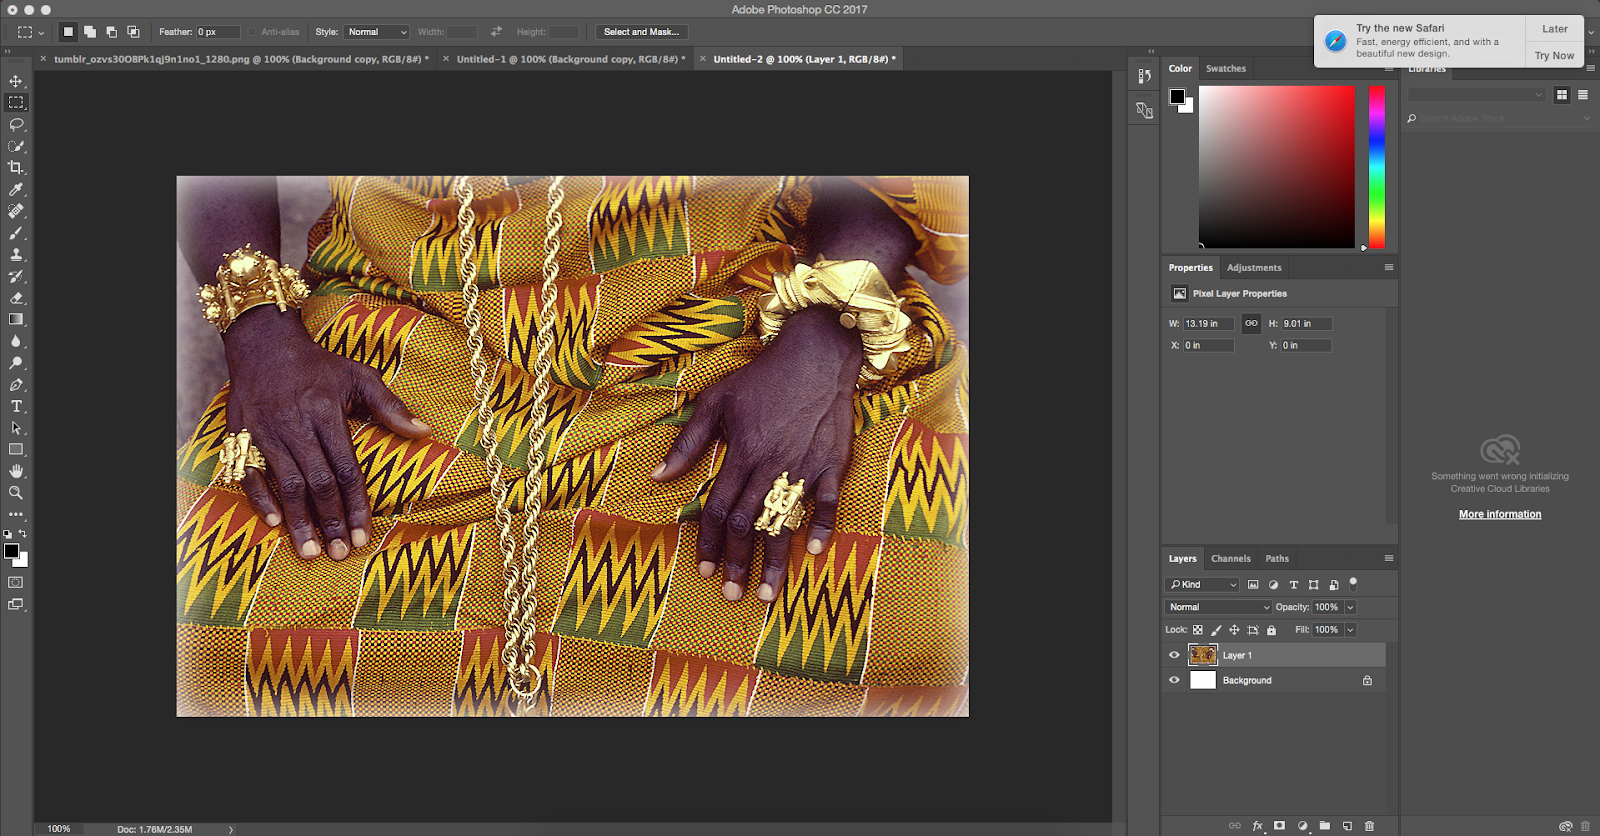
Enhancing an Image in Photoshop
This tutorial was written by Digital Studio Student Assistant, Kimberly Glover. Learn more about Kim and our other student assistants here. First select an image of your choice. After downloading your image, open the Photoshop software, click File and select Open to insert your image. To brighten the image, click the Image => Adjustments => Vibrance.…
You must be logged in to post a comment.